
Hi, I’m Michael.
I’m a healthy living and biohacking enthusiast. My goal is to help people achieve optimal health by bridging the gap between ancestral living and the demands of modern society.
On this blog I share in-depth product reviews, actionable information and solutions to complex problems in plain and easy-to-understand language.
Featured On


Latest Articles
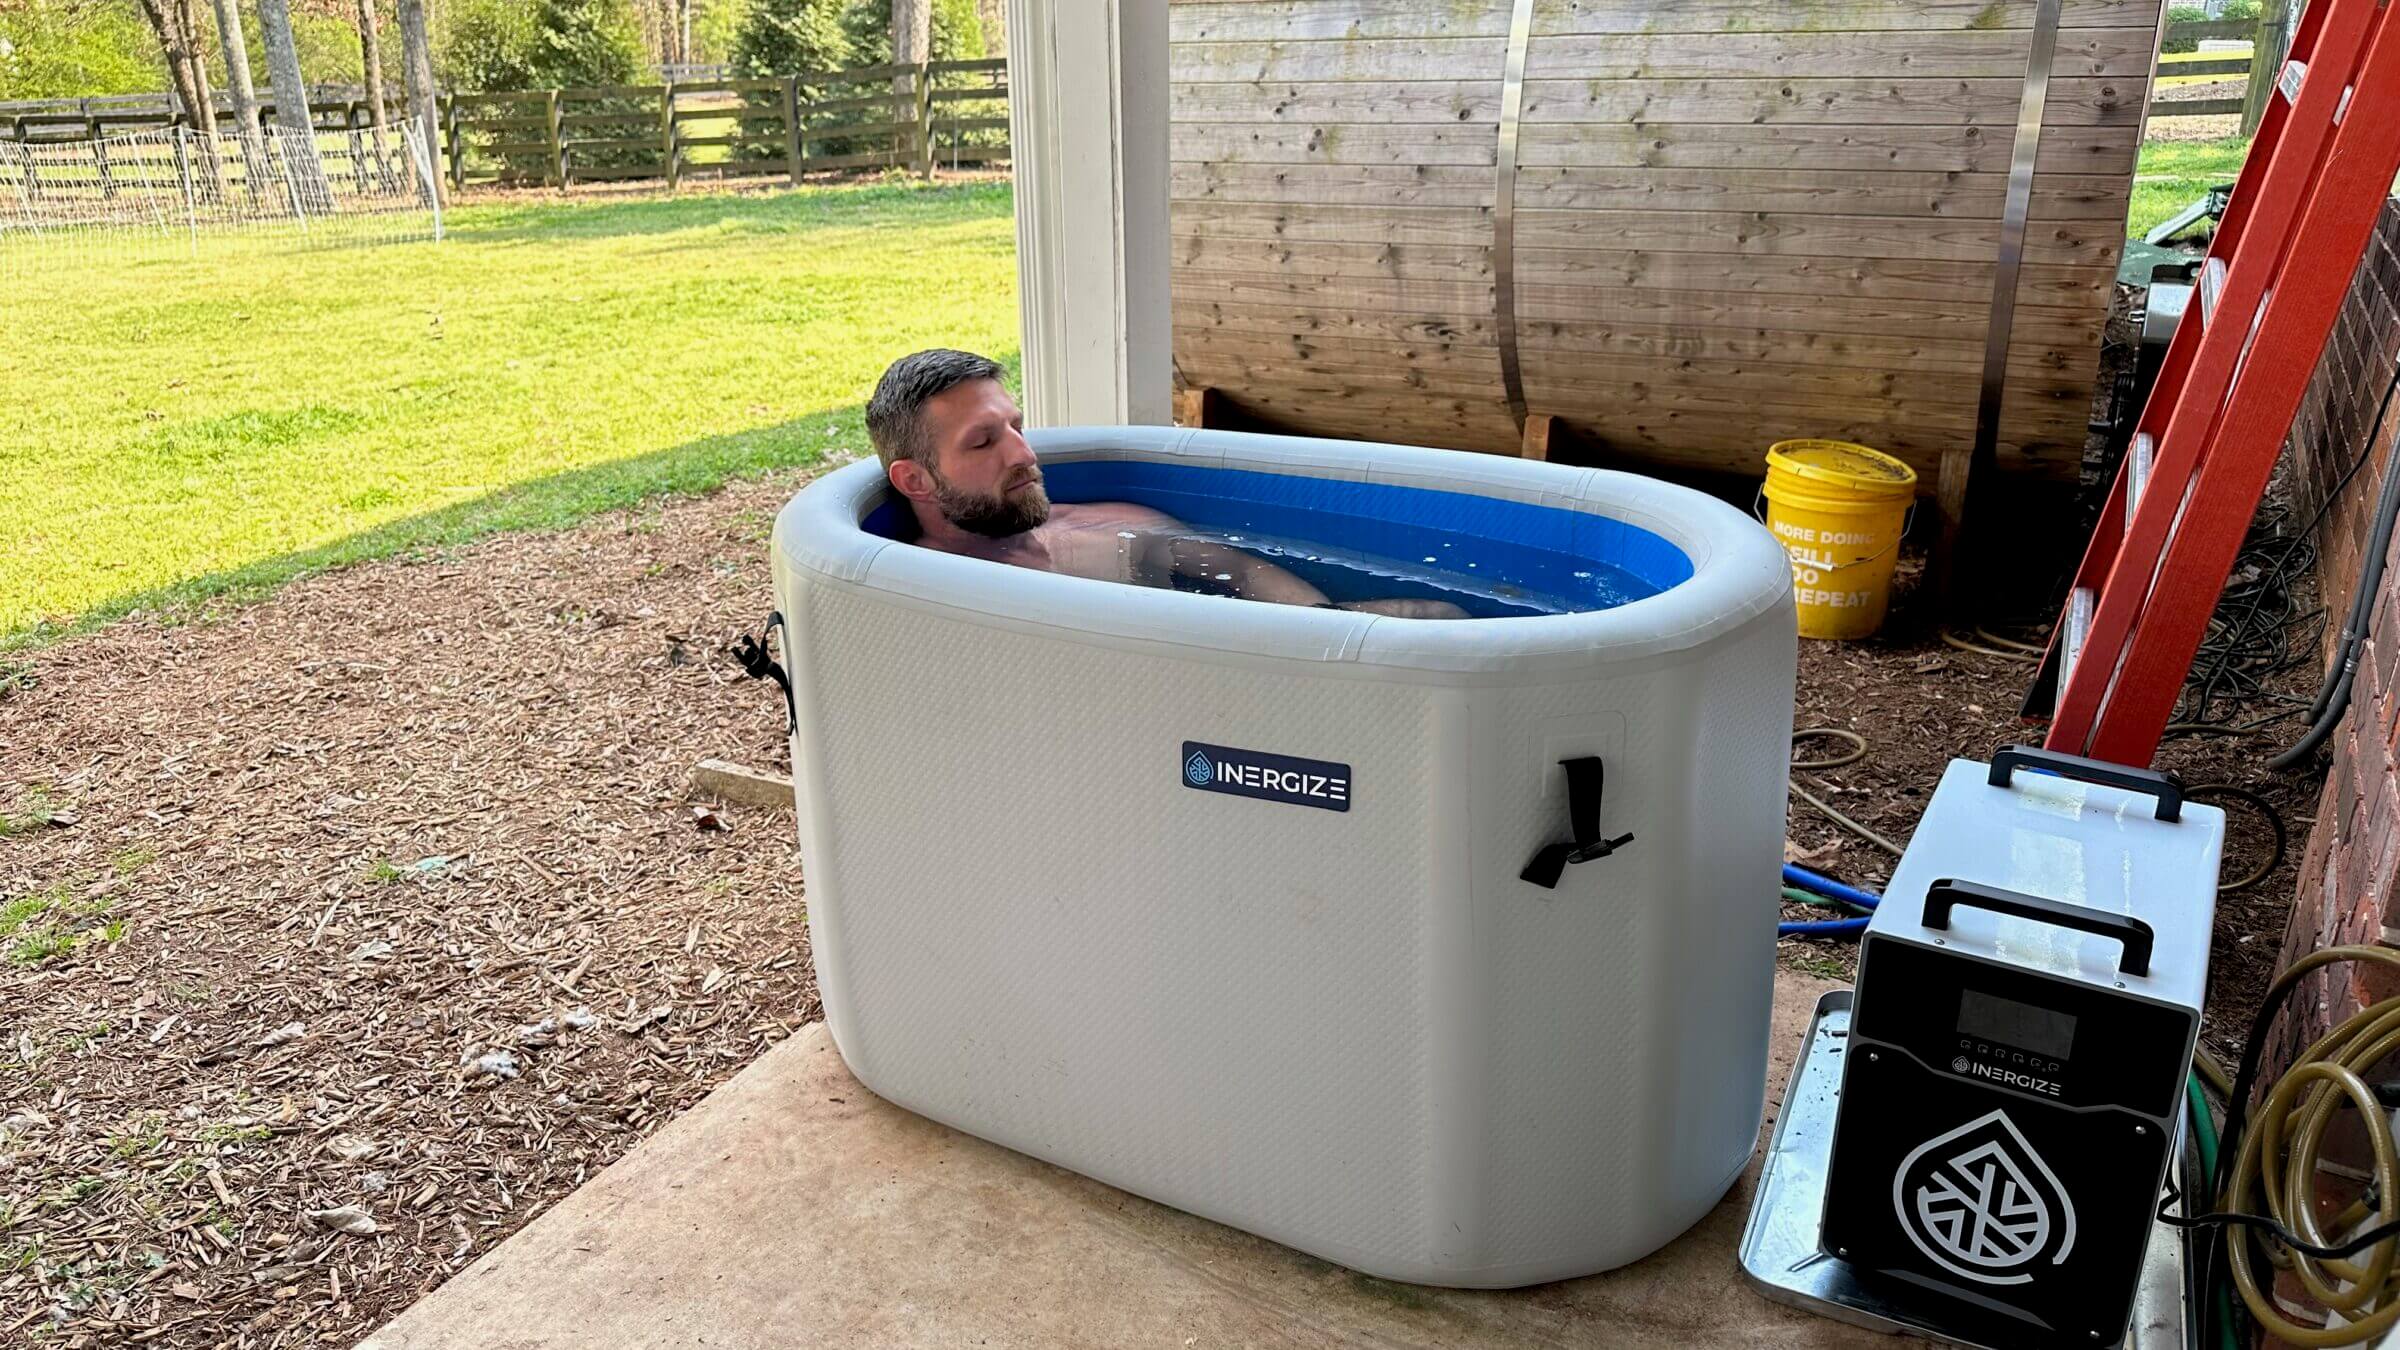
Inergize Cold Plunge Review
Despite its relatively minimal footprint, the Inergize Cold Plunge has a surprisingly…
Ice Barrel 500 Review
Ice Barrel’s latest model features insulated walls that are dramatically better at…

Hands-On Ice Barrel 400 Review: Is It Worth the Hype?
The Ice Barrel 400 makes it easy to add cold therapy to…
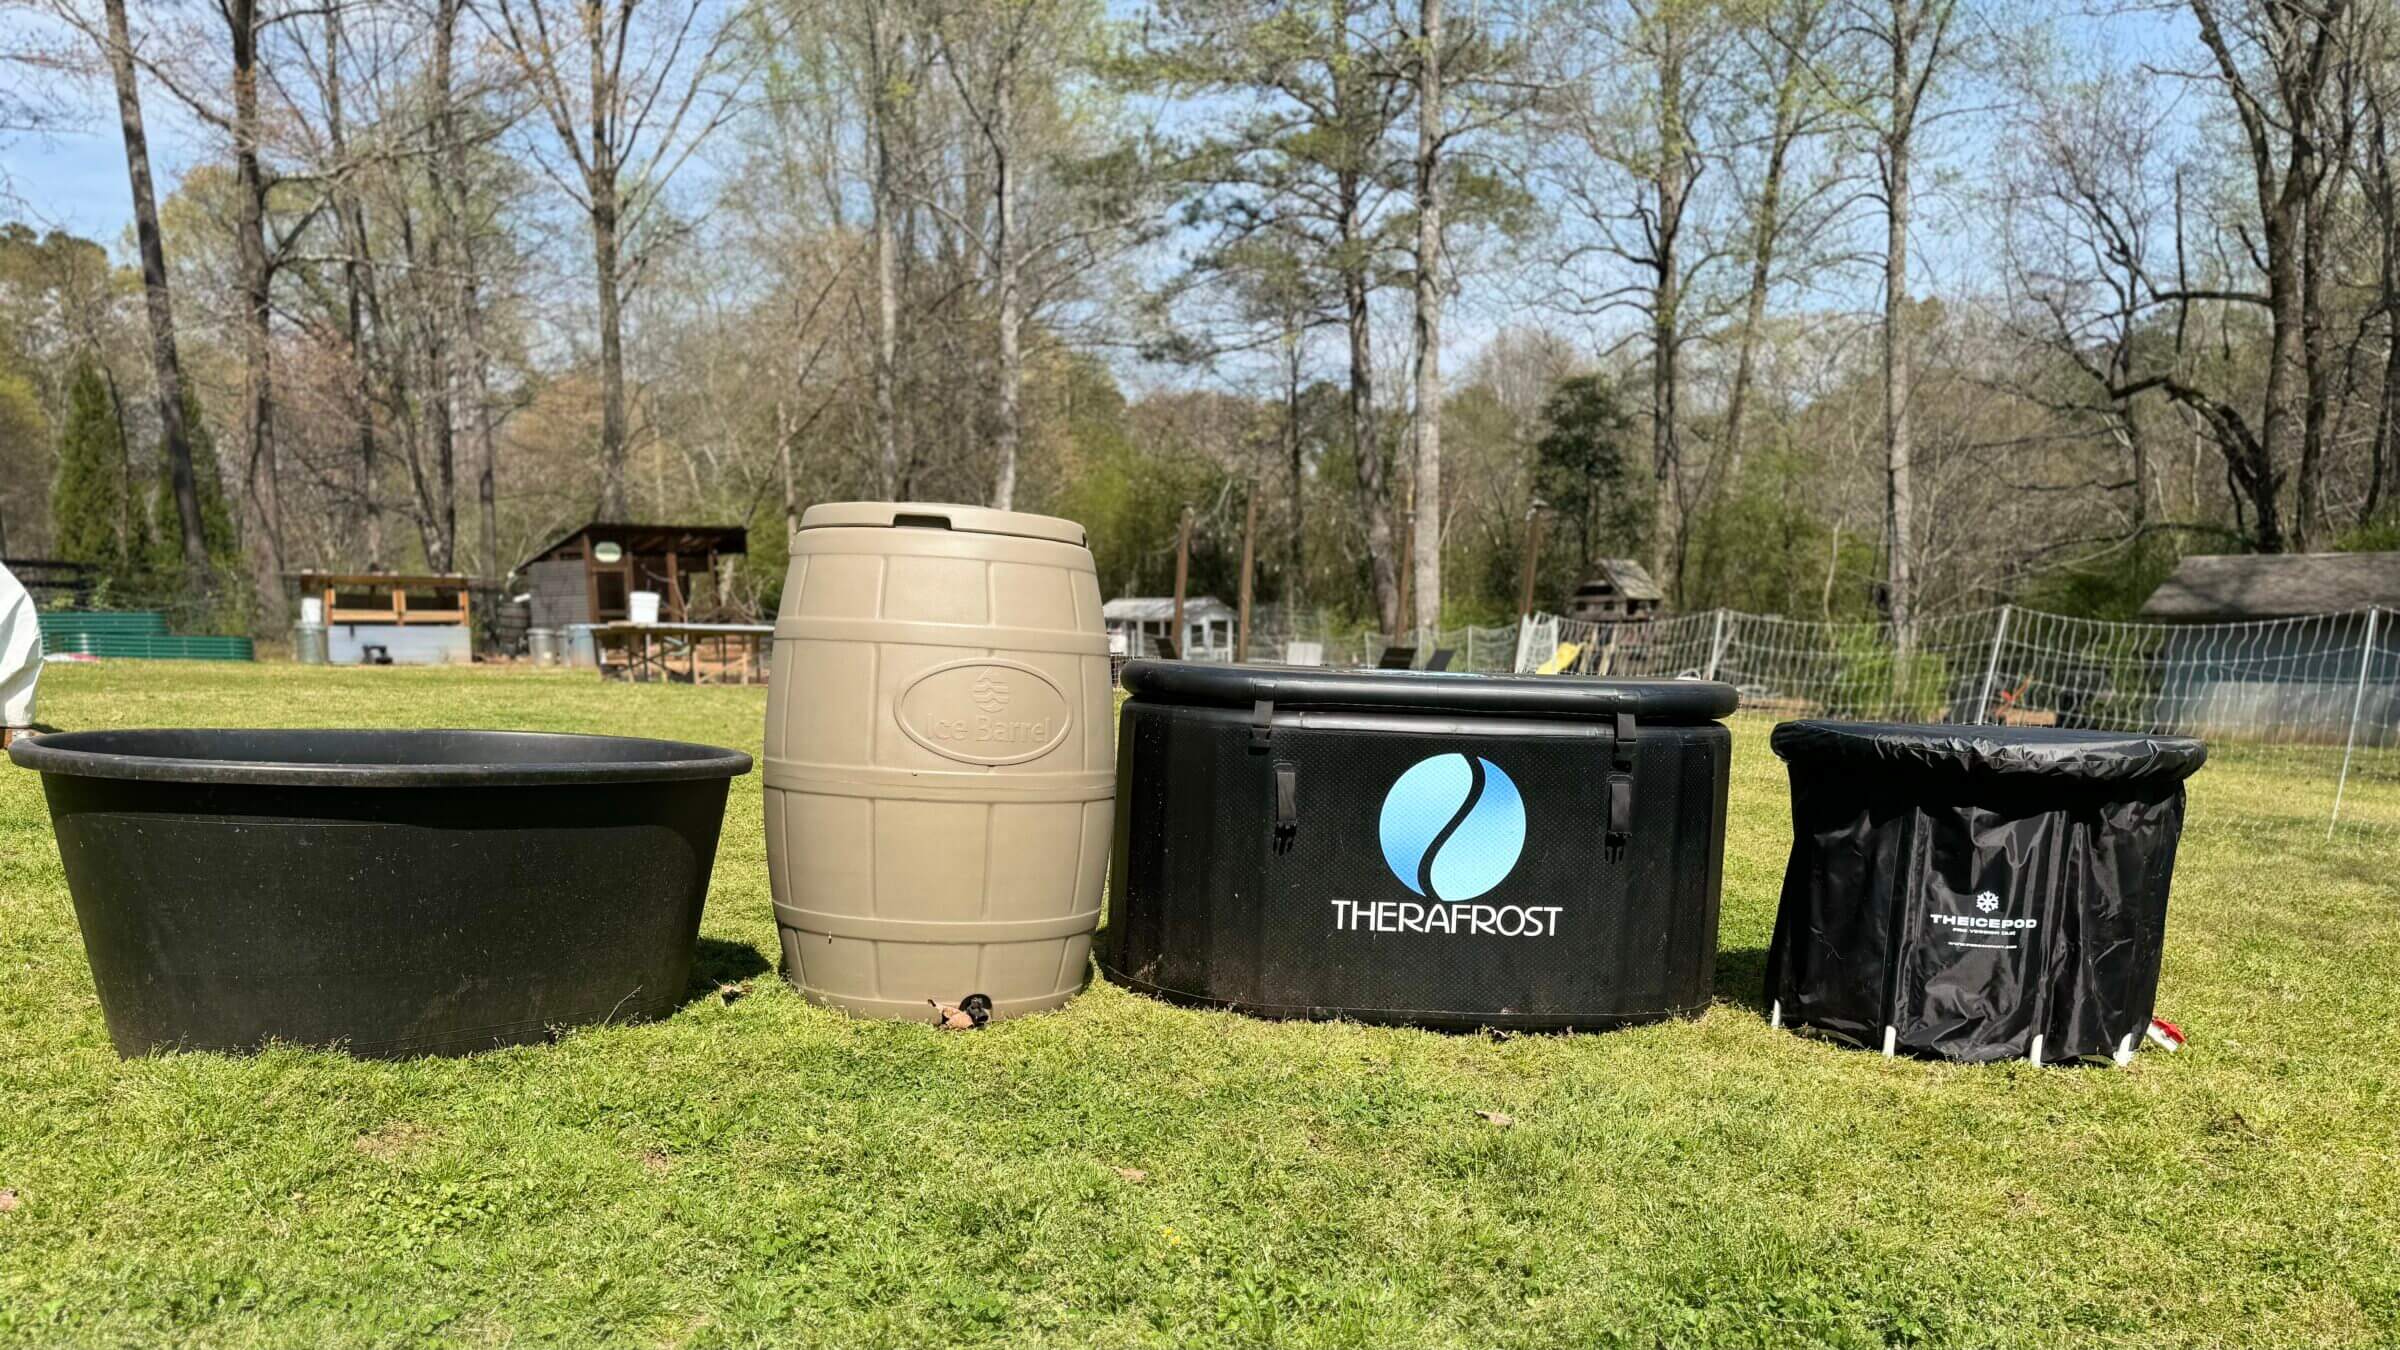
How to Choose a Cold Plunge Tub: 12 Key Factors to Consider
Cooling performance, filtration capabilities and insulation are critical, but size and portability…

SaunaBox Review: Why You Should Consider This Portable Steam Sauna
SaunaBox is an affordable, portable way to make sauna bathing part of…
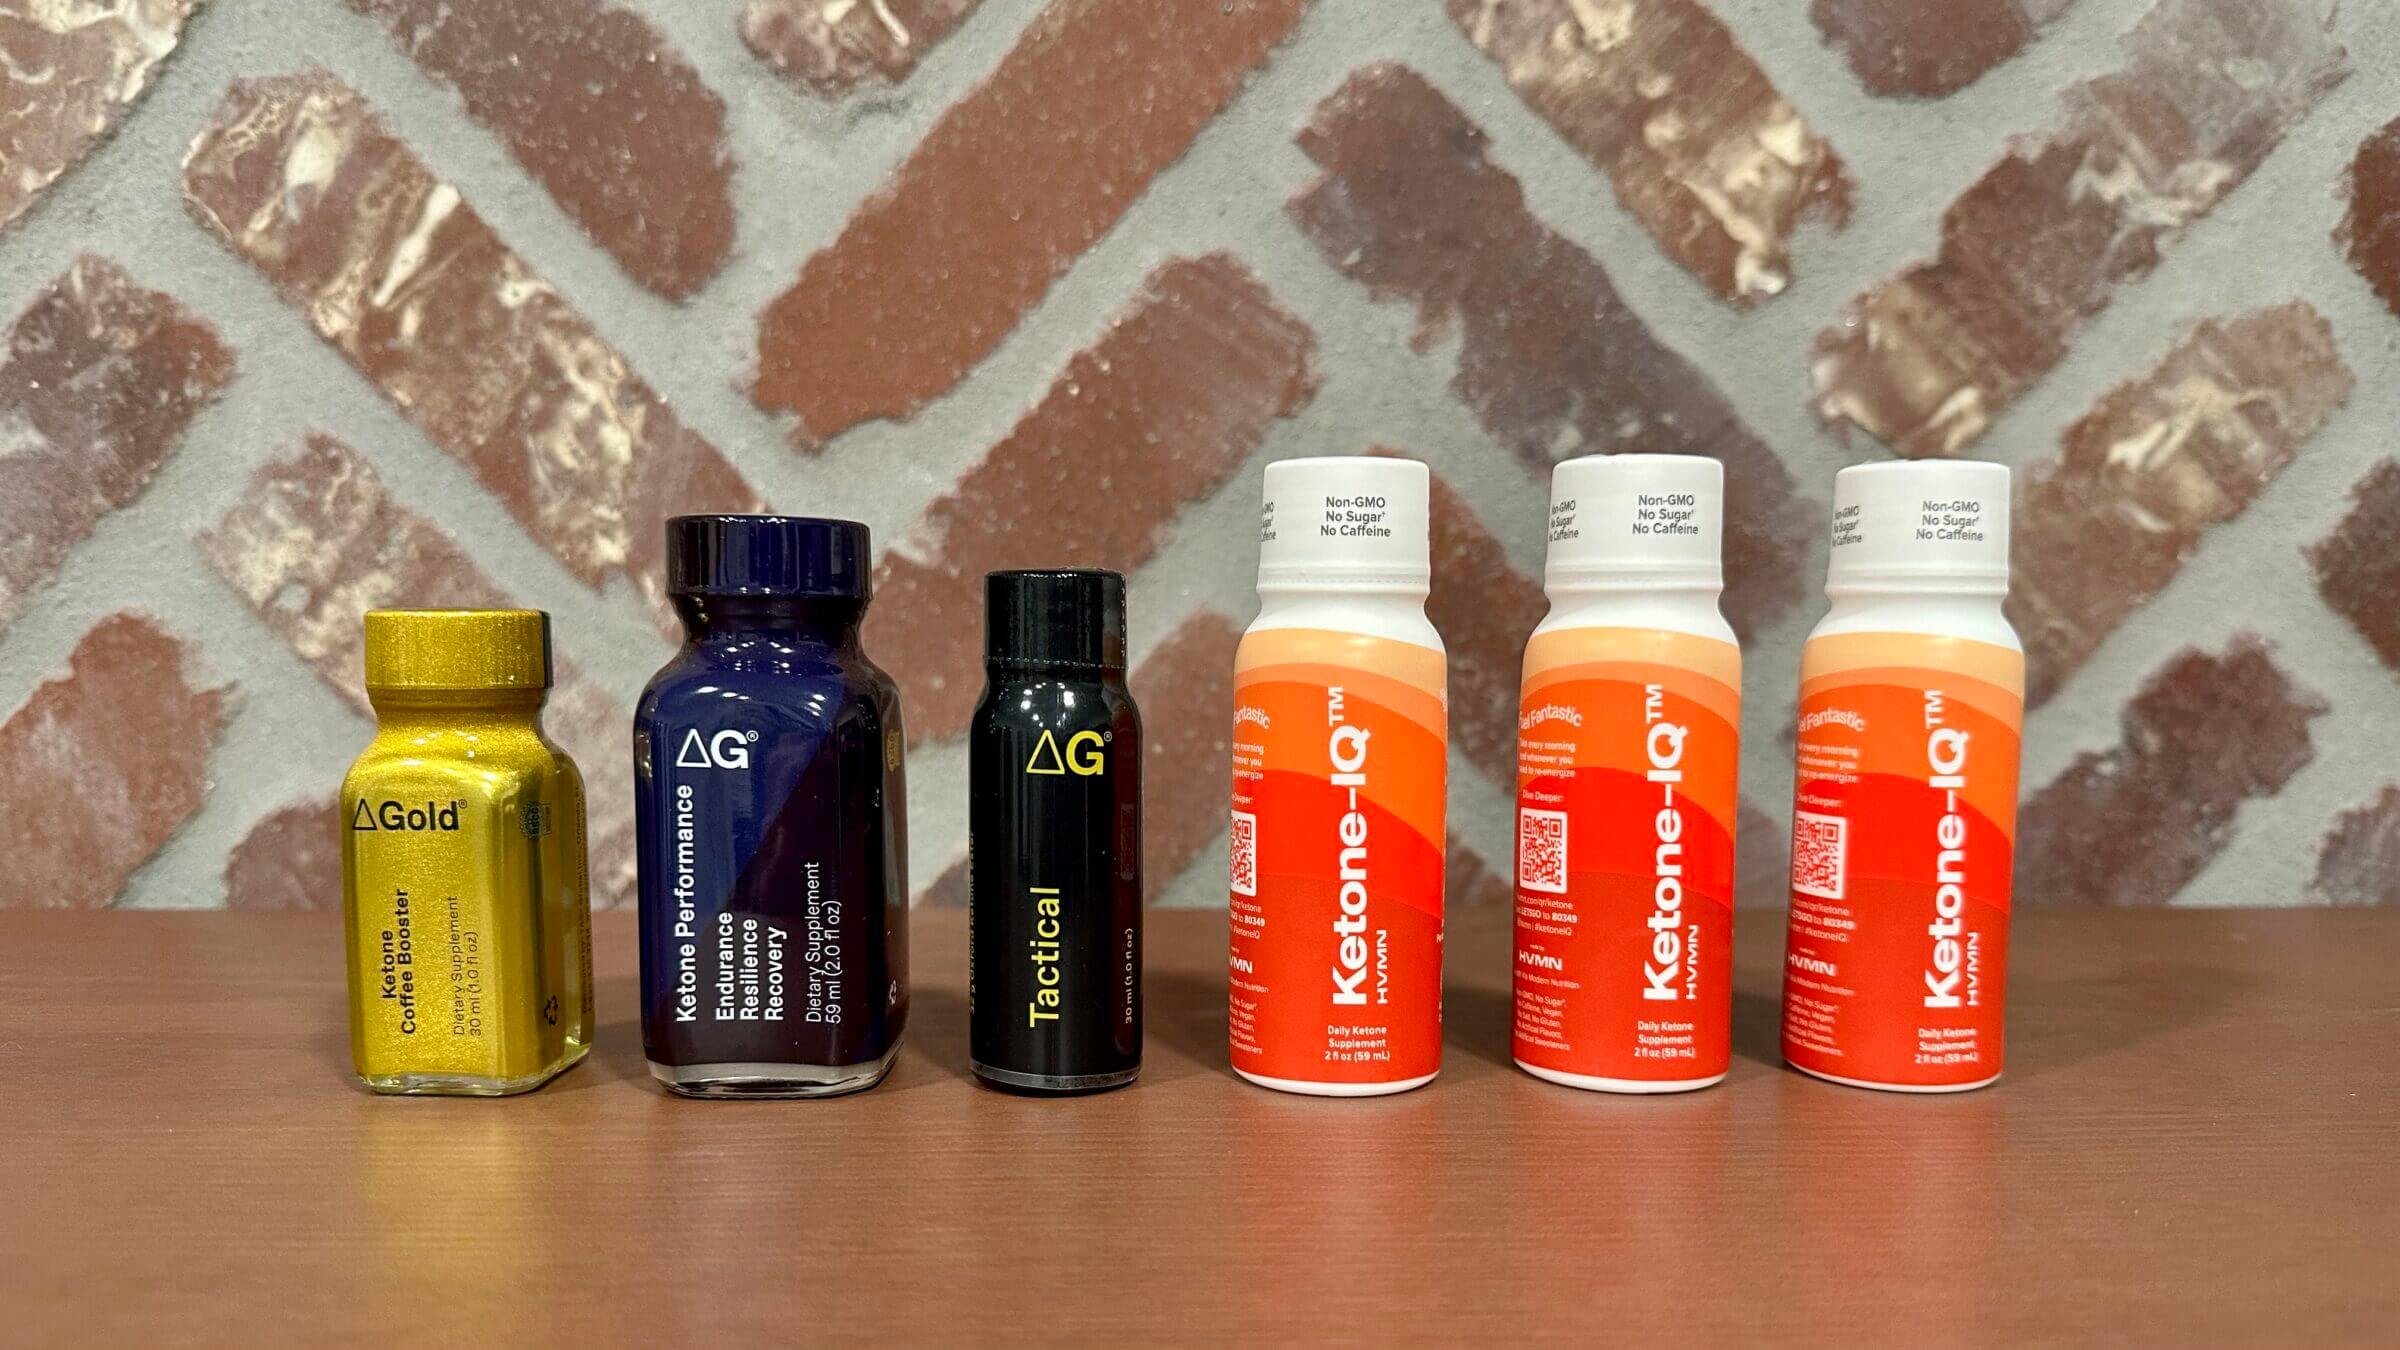
DeltaG vs. Ketone-IQ: One Product Was 3X More Effective In Testing
The results of my multi-week experiment show that deltaG is significantly better…

Nutrisense Review: 3 Surprising Things I Learned
Nutrisense is a continuous glucose monitoring platform that helps you understand how…
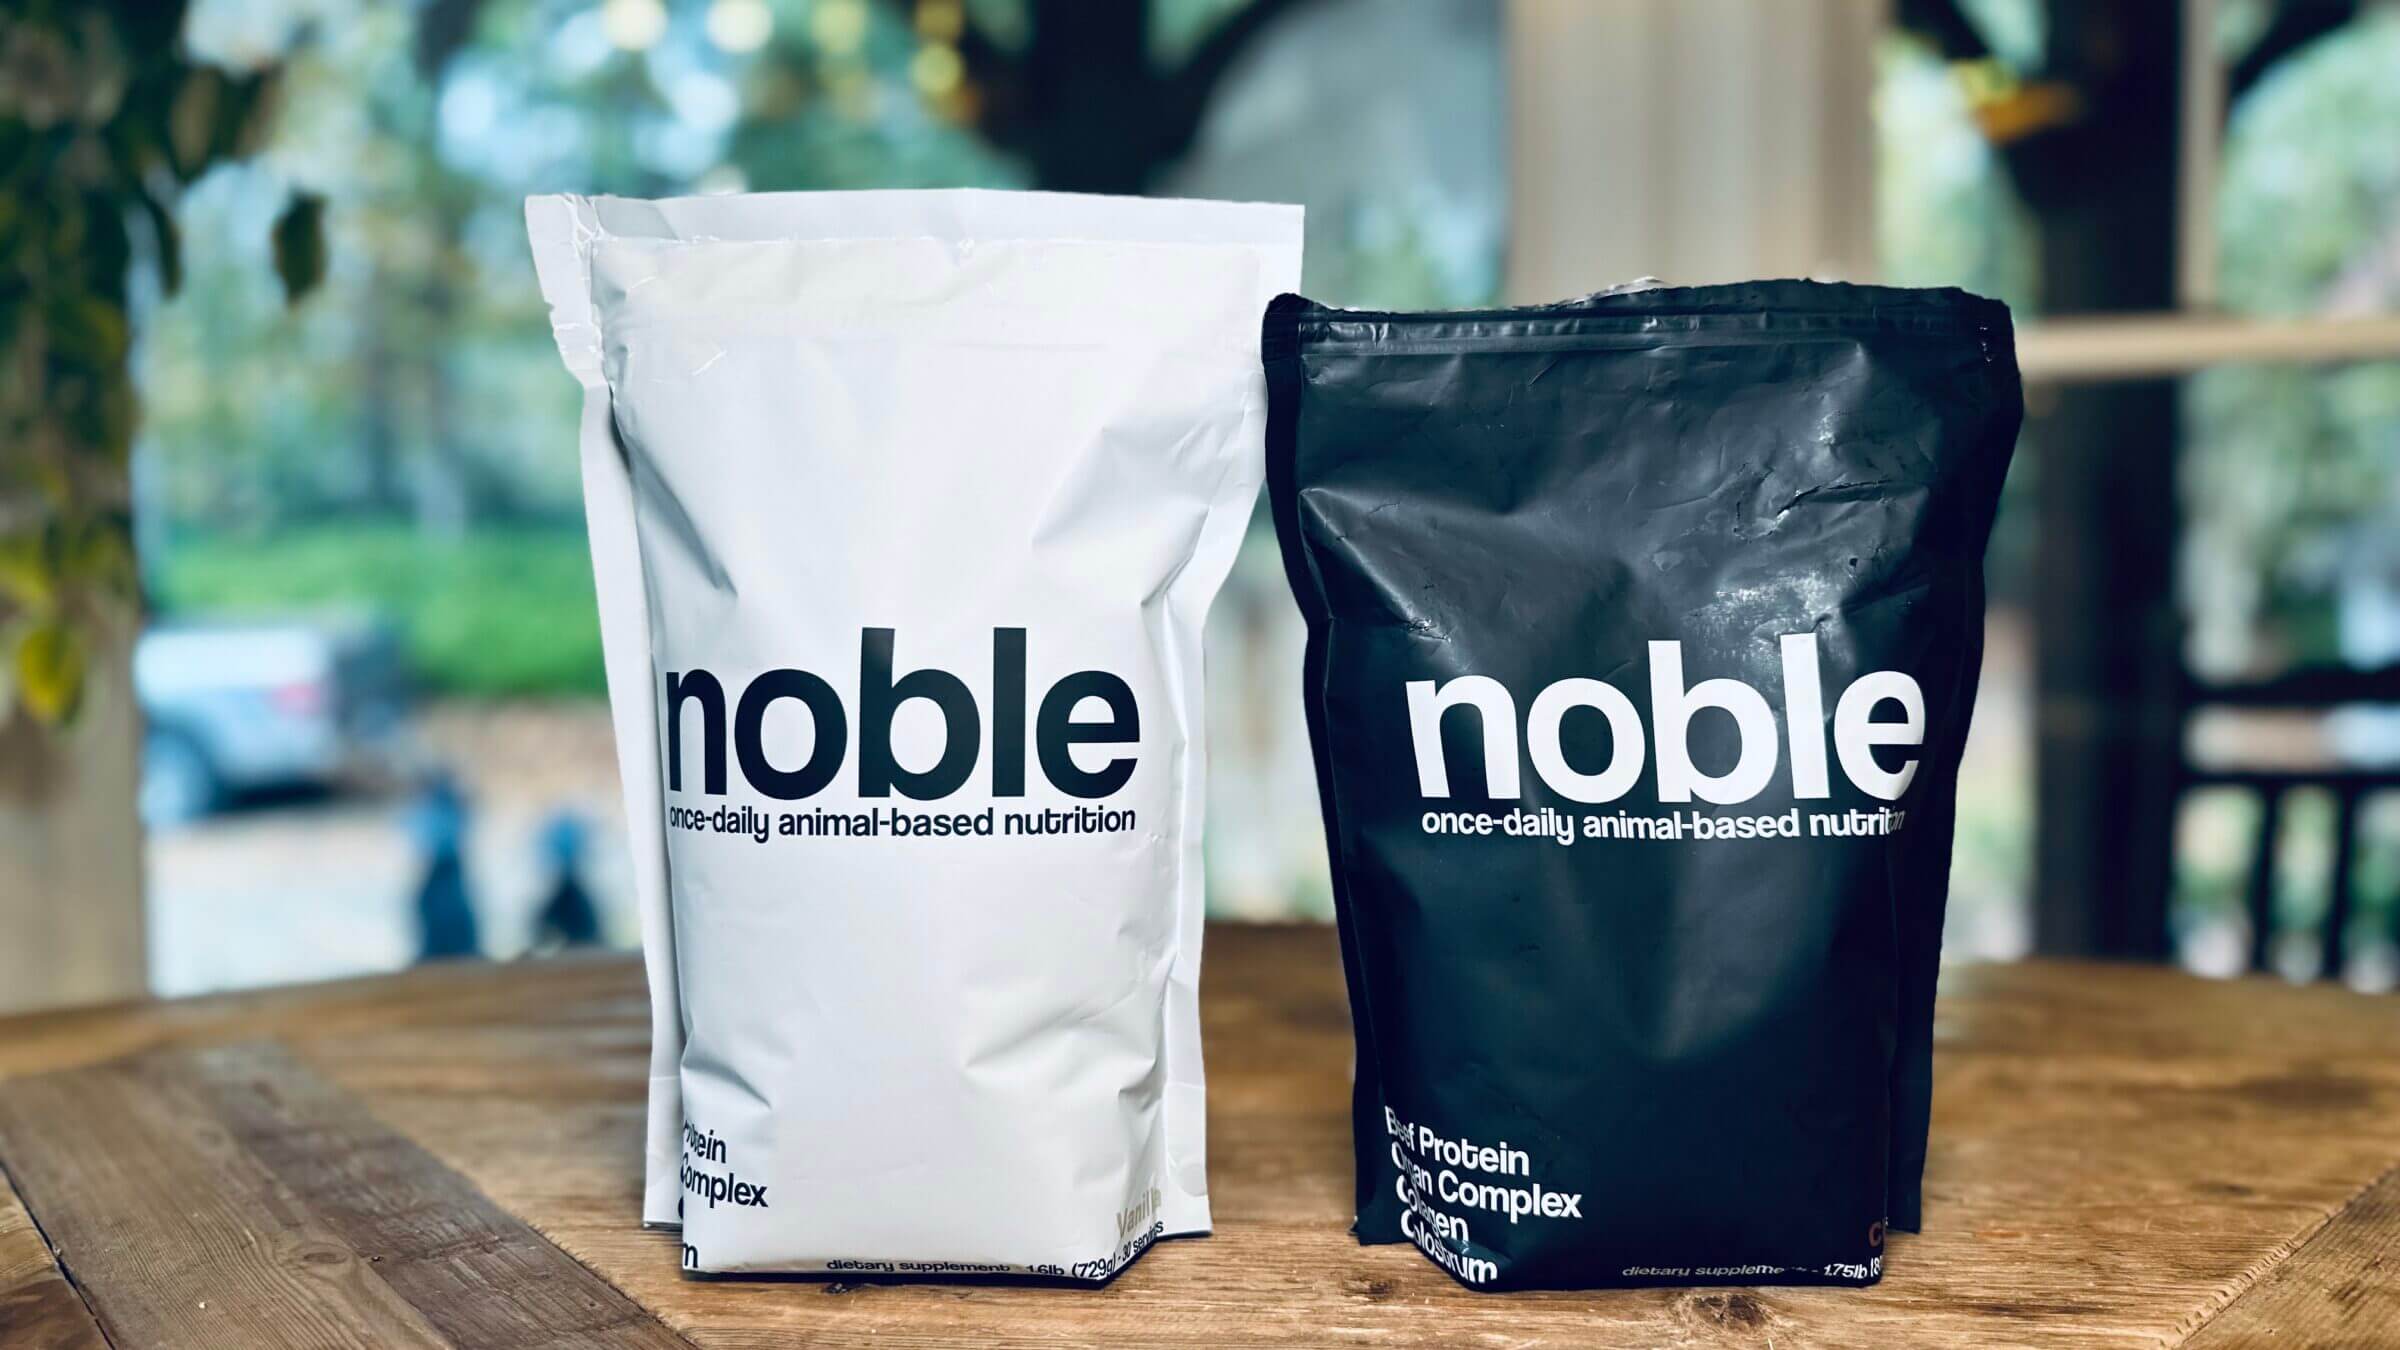
Noble Beef Protein Powder Review
Noble is one of just a handful of products made from beef…

Pizza Is Unhealthy, But You Can Make It Healthier
To find out whether pizza is healthy or unhealthy, we have to…
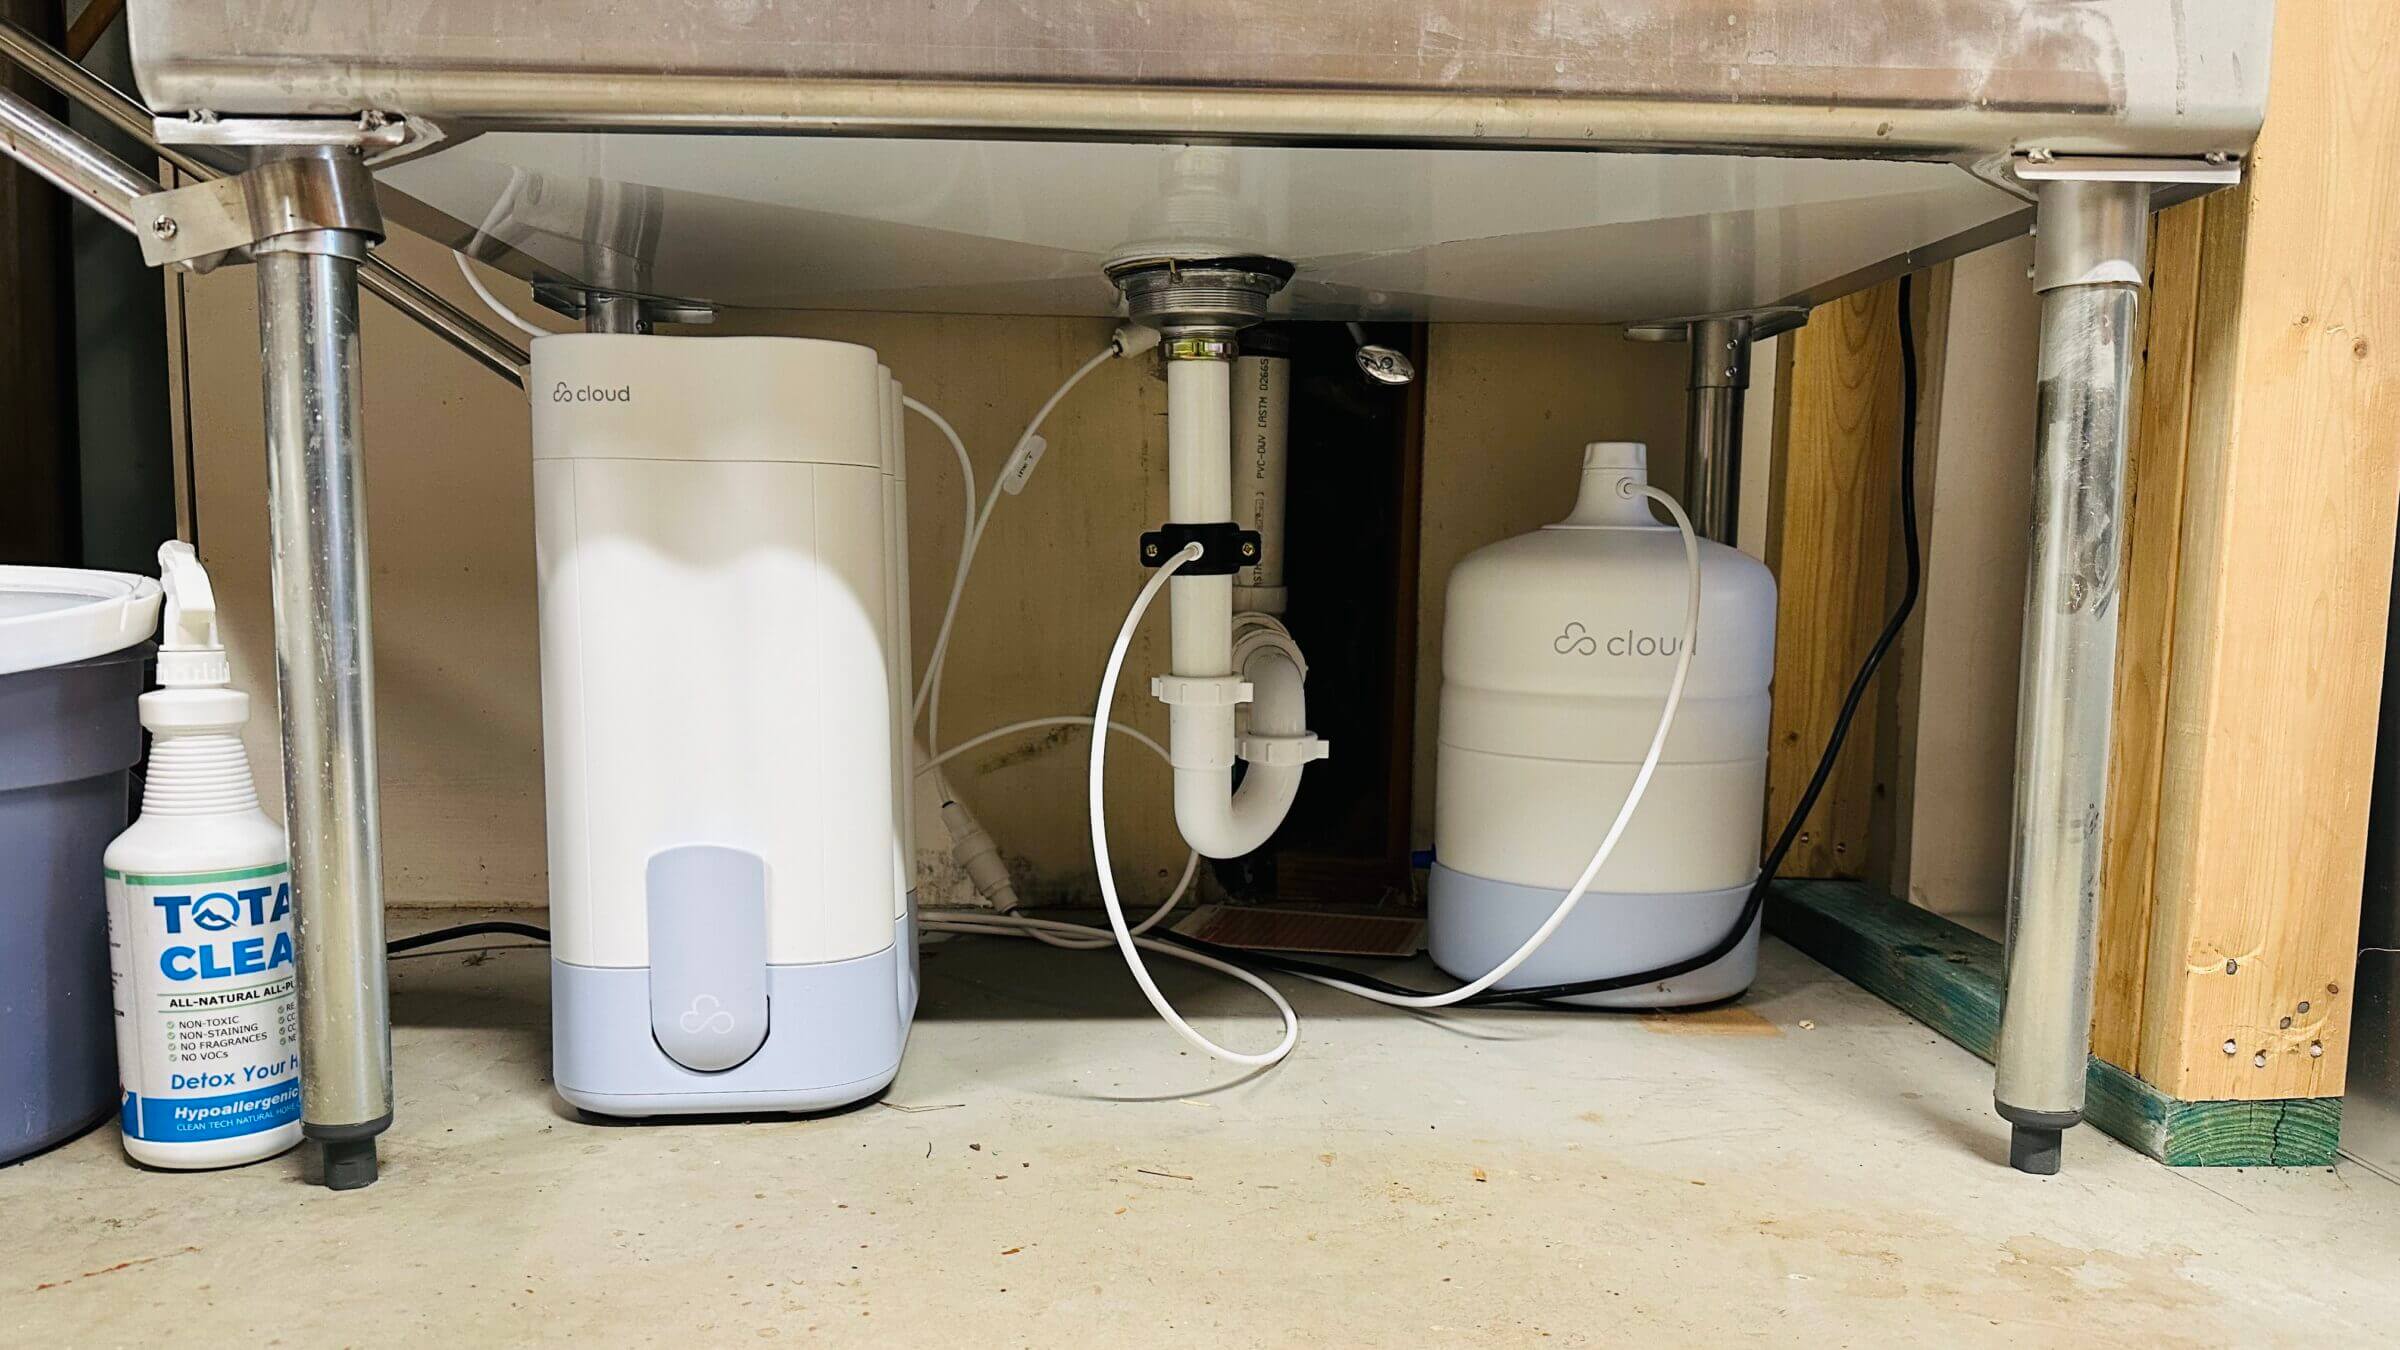
Cloud RO Water Filtration System Review & Comparison
Cloud RO is a compact reverse osmosis system that offers above-average flow…
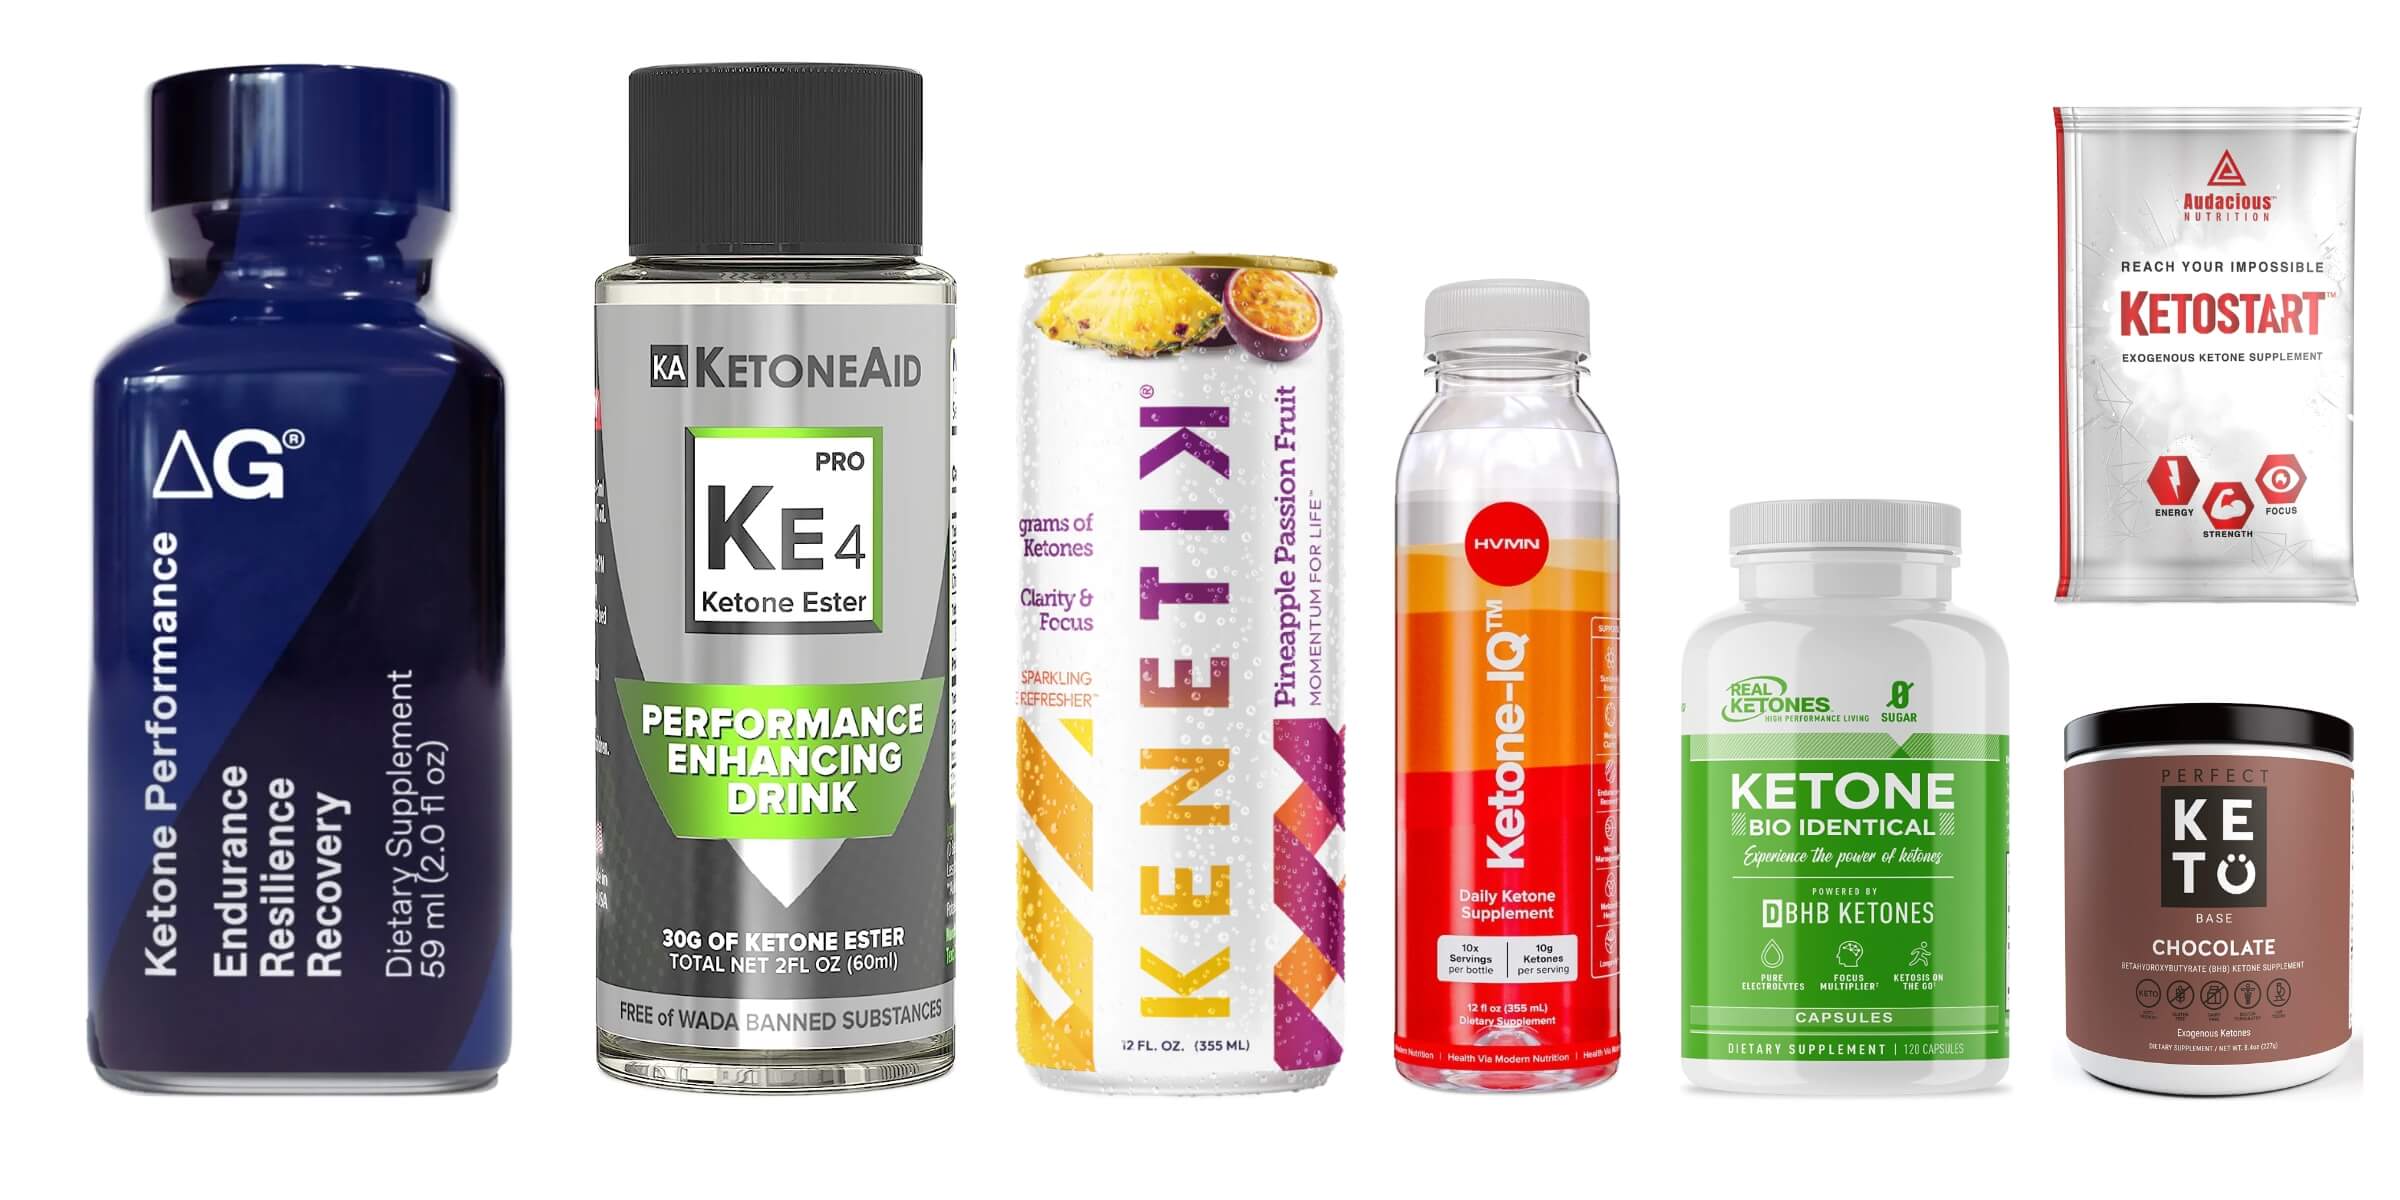
Best Exogenous Ketone Supplements (Based on Science)
This ultimate guide to ketone supplements features the top 7 exogenous ketone…

The 4 Best Vegan Meal Replacement Shakes (2024 Update)
Most of the vegan meal replacement drinks on the market contain unhealthy…

Is An Animal Based Diet Healthy? My Family’s Journey From Keto to Carnivore and Beyond
Following an animal-based diet gives your body all the macronutrients and micronutrients…

Sunlighten mPulse Smart Infrared Sauna Review
The Sunlighten mPulse is a full-spectrum infrared sauna that delivers the combined…
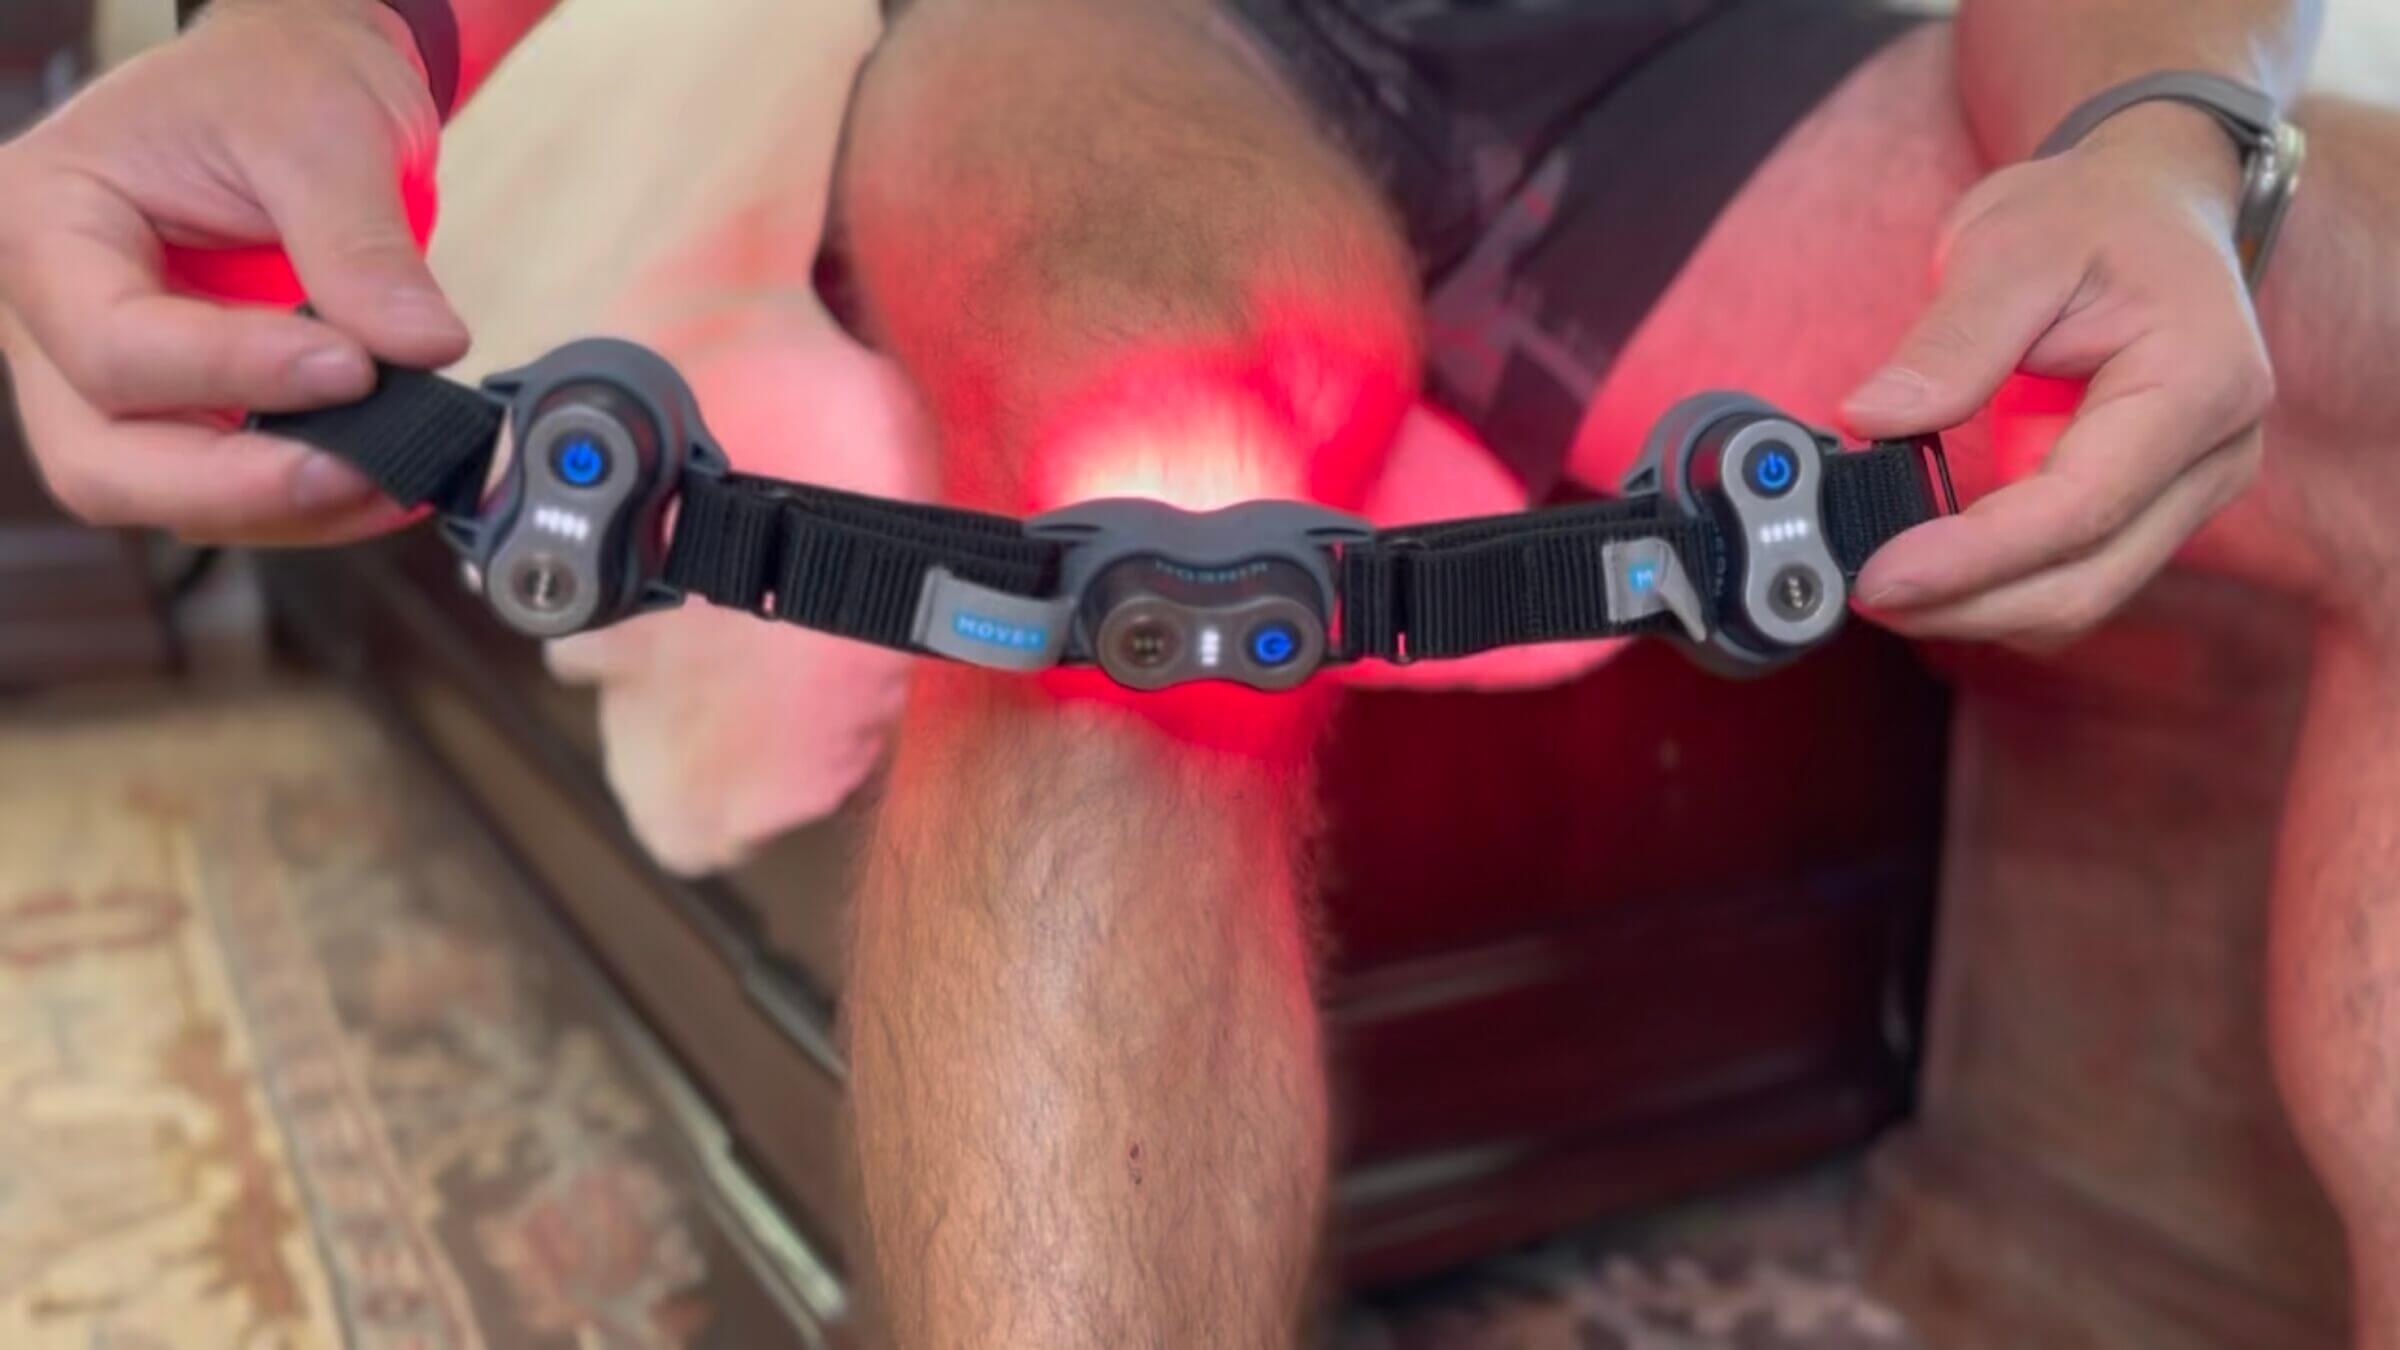
How to Choose a Red Light Therapy Device
Key factors include the type of red light emitted, the intensity of…